
How to Put a Border Around Every Paragraph on Any Website
Helperbird can draw a colored outline around every paragraph, so you can see where each one starts and ends. Here is how to turn it on and pick the color.
·
- features
What are Paragraph Borders?
This page is about borders, not highlighting. Paragraph Borders draws a colored outline around the edge of every paragraph on a page. It does not fill the paragraph with color.
The outline shows you where one paragraph ends and the next one starts, so it is harder to lose your place while you read.
Looking for the shaded version? The feature that fills each paragraph with color is the Background row, one row down in the same Paragraphs panel. Helperbird calls it Paragraph highlight when you search for it. It has its own guide: How to Change the Paragraph Background Color on Any Website.
You can turn on Border, Background, or both.
You can choose any border color you like.
Who is This For?
This feature is helpful for:
- People who lose their place while reading long text
- Anyone who finds walls of text hard to navigate
- Students reading dense articles or essays
- People with dyslexia or attention difficulties
- Anyone who wants clearer visual separation between paragraphs
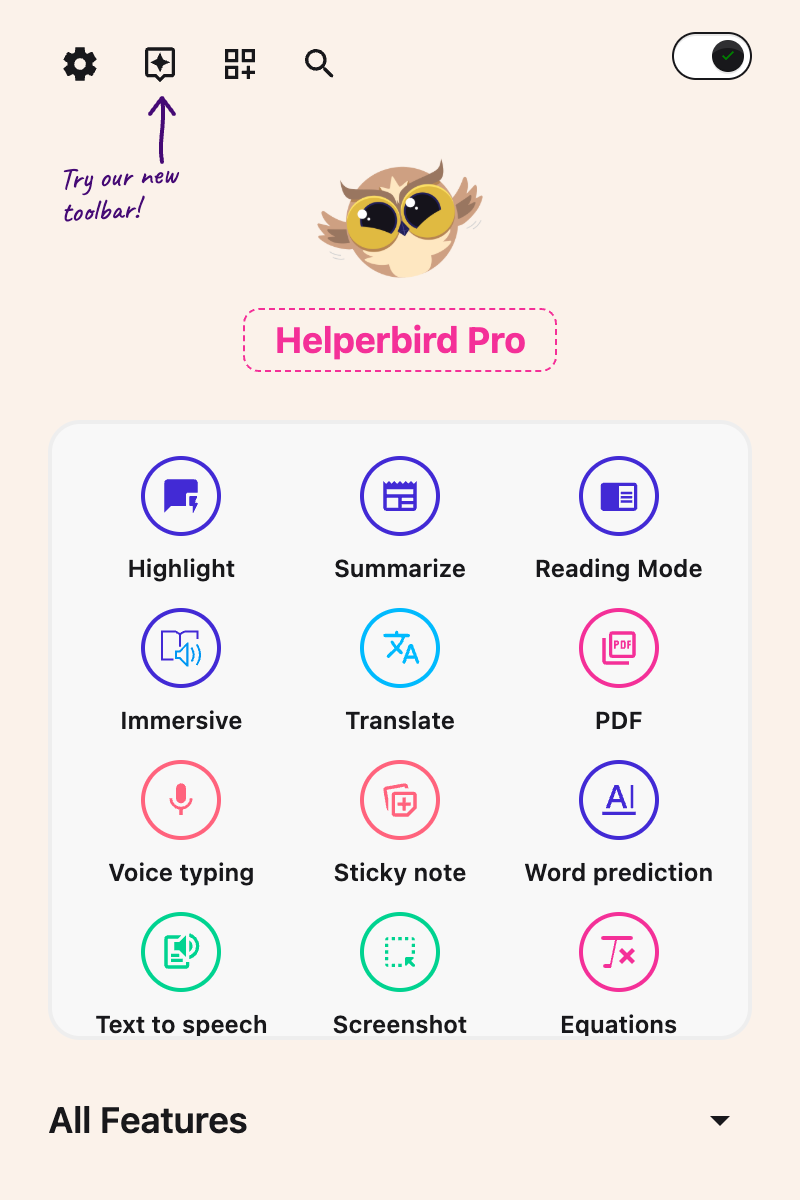
Step 1: Open Helperbird
Click the Helperbird icon in your browser toolbar. It looks like a small owl and is usually in the top-right corner of your browser.
This will open the Helperbird menu.
Step 2: Open the All Features Section
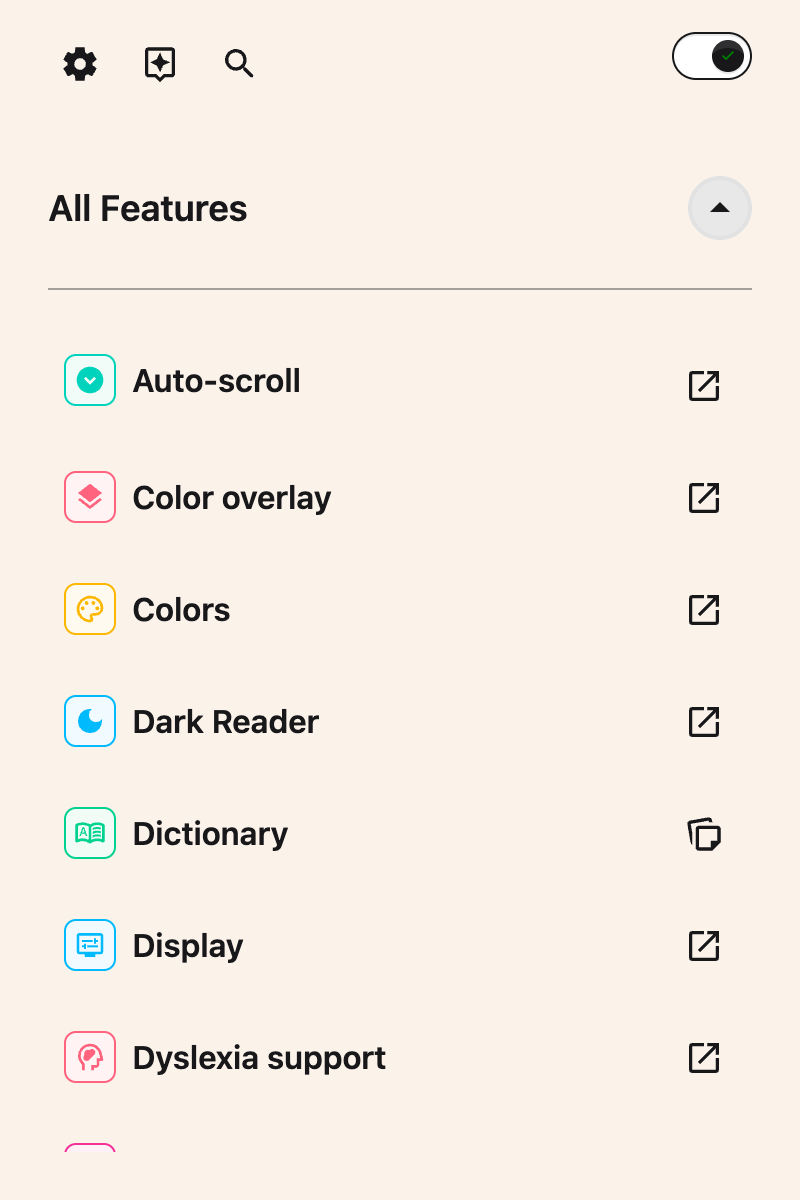
Scroll down to the bottom of the Helperbird menu. You will see a section called All Features.
Click the arrow next to All Features to expand it and show all available features.
Step 3: Find Paragraphs
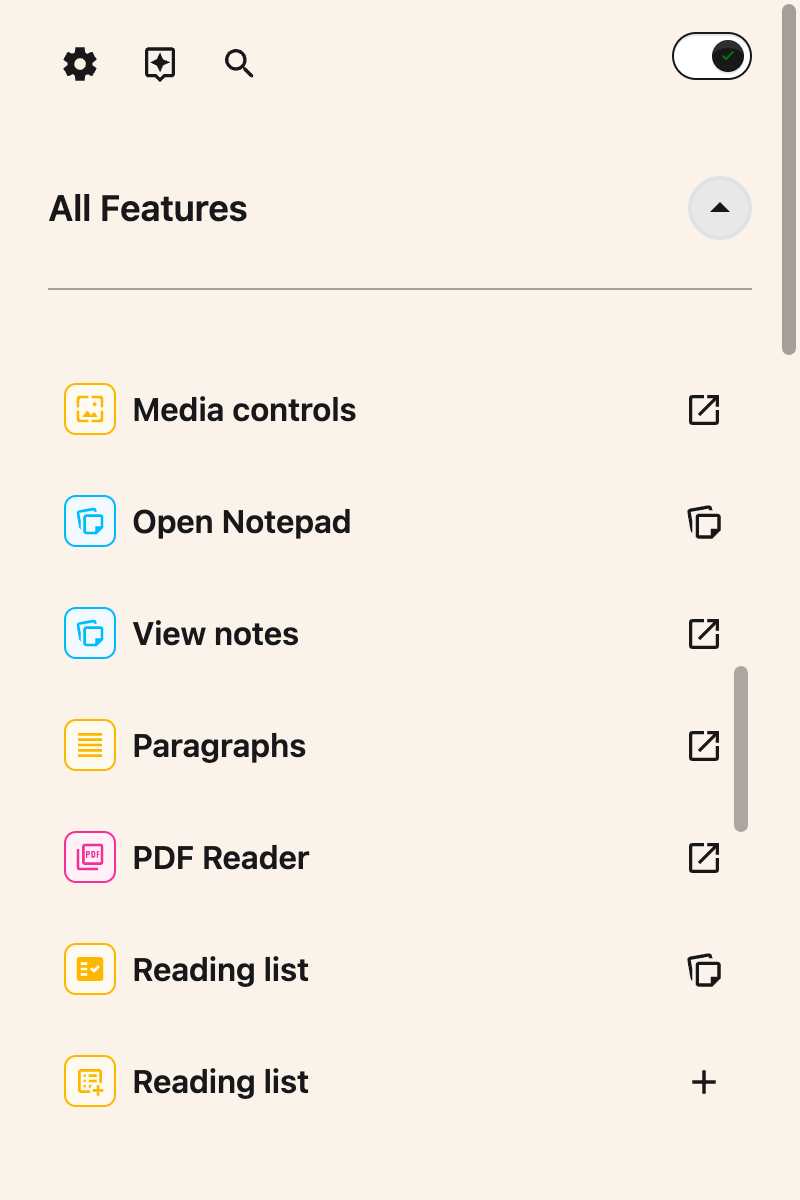
Look through the list of features until you see Paragraphs.
Step 4: Open the Paragraphs Panel
Click the arrow button next to Paragraphs to open it.
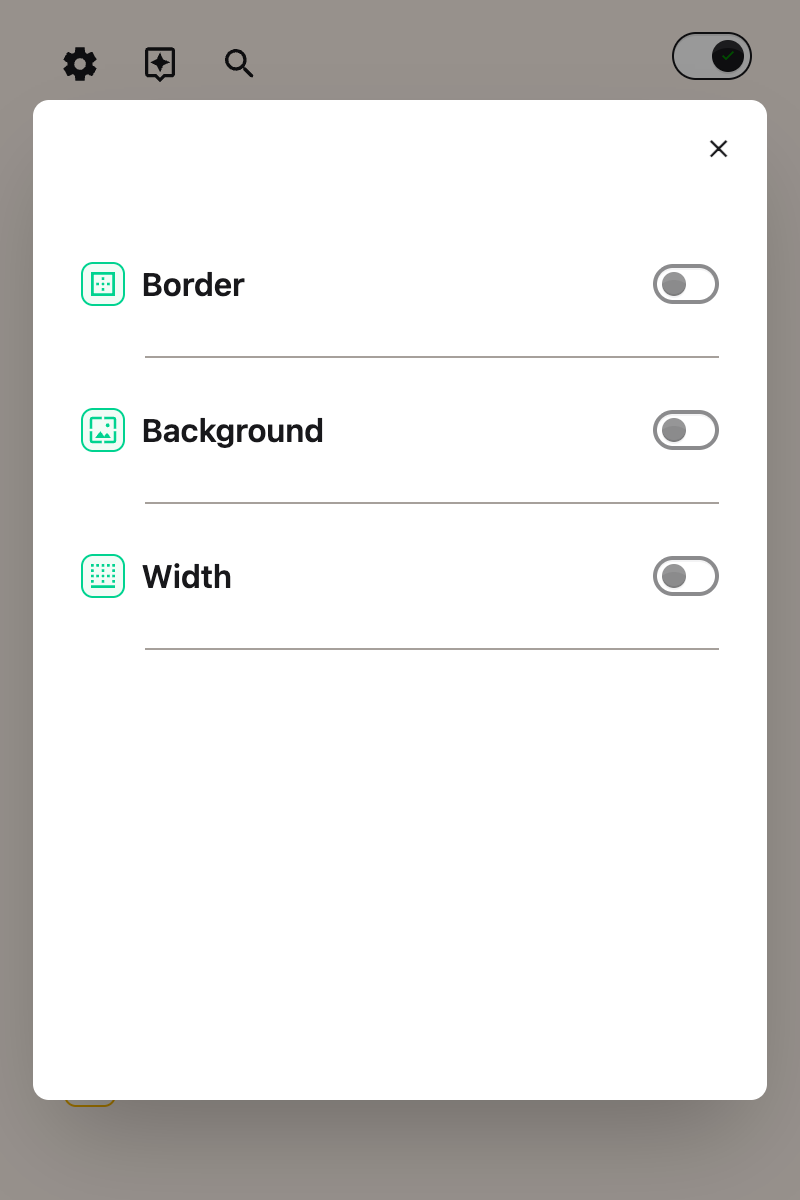
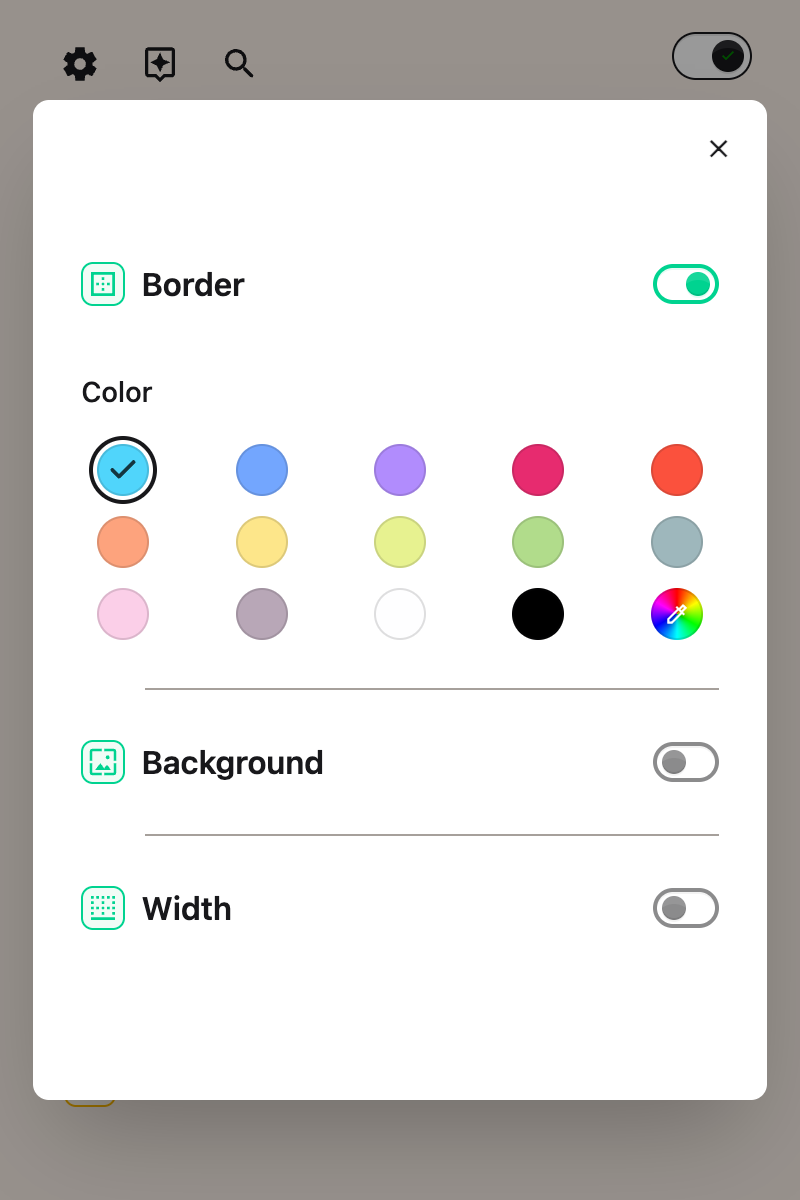
A panel will appear with the paragraph settings, starting with Border.
Step 5: Turn on Border
In the Paragraphs panel, find Border with a toggle switch next to it.
Click the toggle to turn it on. The toggle will turn green when it is enabled.
All paragraphs on the page will now have colored borders around them.
Step 6: Choose a Color
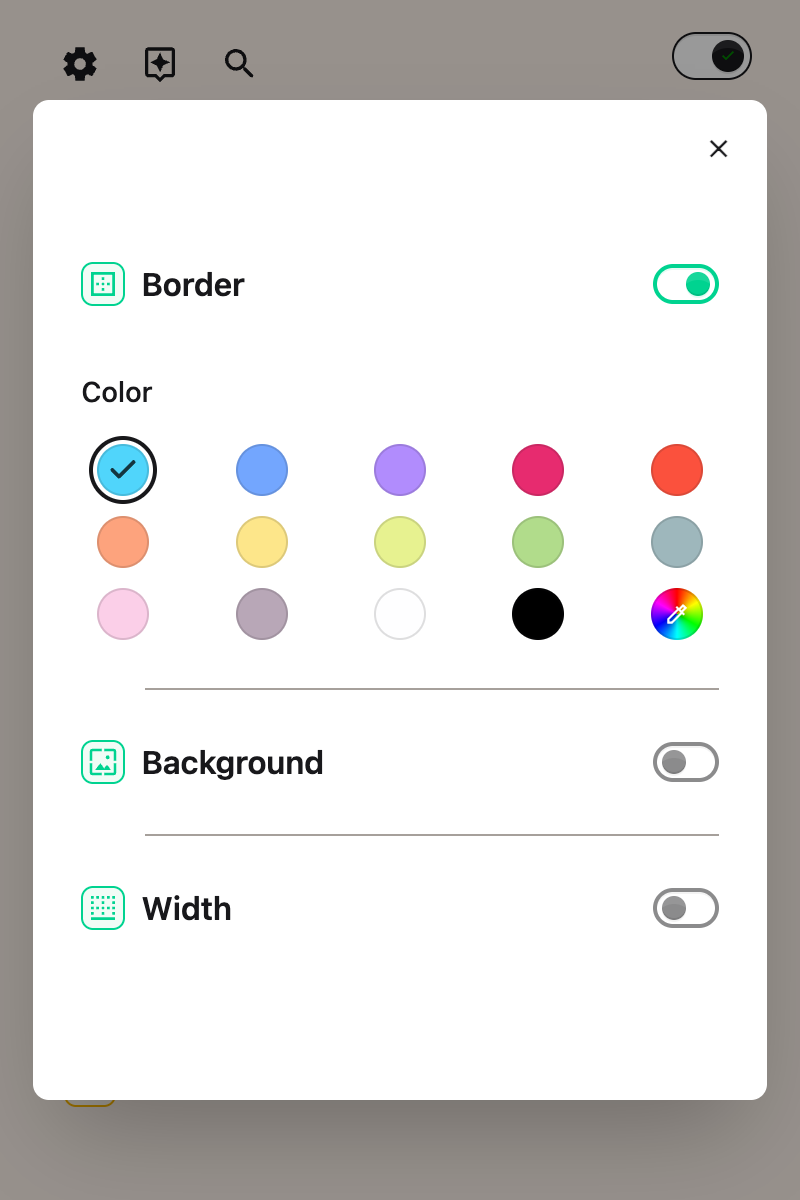
After turning on Border, a Color heading and a grid of swatches appear below the toggle.
Click any swatch to change the border color. You can also set your own color instead of using a swatch.
Your choice is saved automatically.
Tip: Use a contrasting color that stands out against the page background for the best visibility.
Video Tutorial
Need Additional Help?
If you have any questions or run into any issues, please contact the Helperbird support team. You can reach us at Helperbird support. We are happy to help you get the most out of Helperbird.
Printed from the Helperbird Help Center · Updated August 12th, 2026
Questions? We are happy to help — helperbird.com/support