How to Customize Quick Actions
Quick Actions keeps your most-used Helperbird features at the top of the menu. Learn how to add a feature to Quick Actions and how to remove one you stop using.
·
- getting started
Quick Actions puts your most-used Helperbird features right at your fingertips. Instead of searching through menus, you can access everything you need in one spot.
Here's how to customize it.
Step 1: Open Helperbird
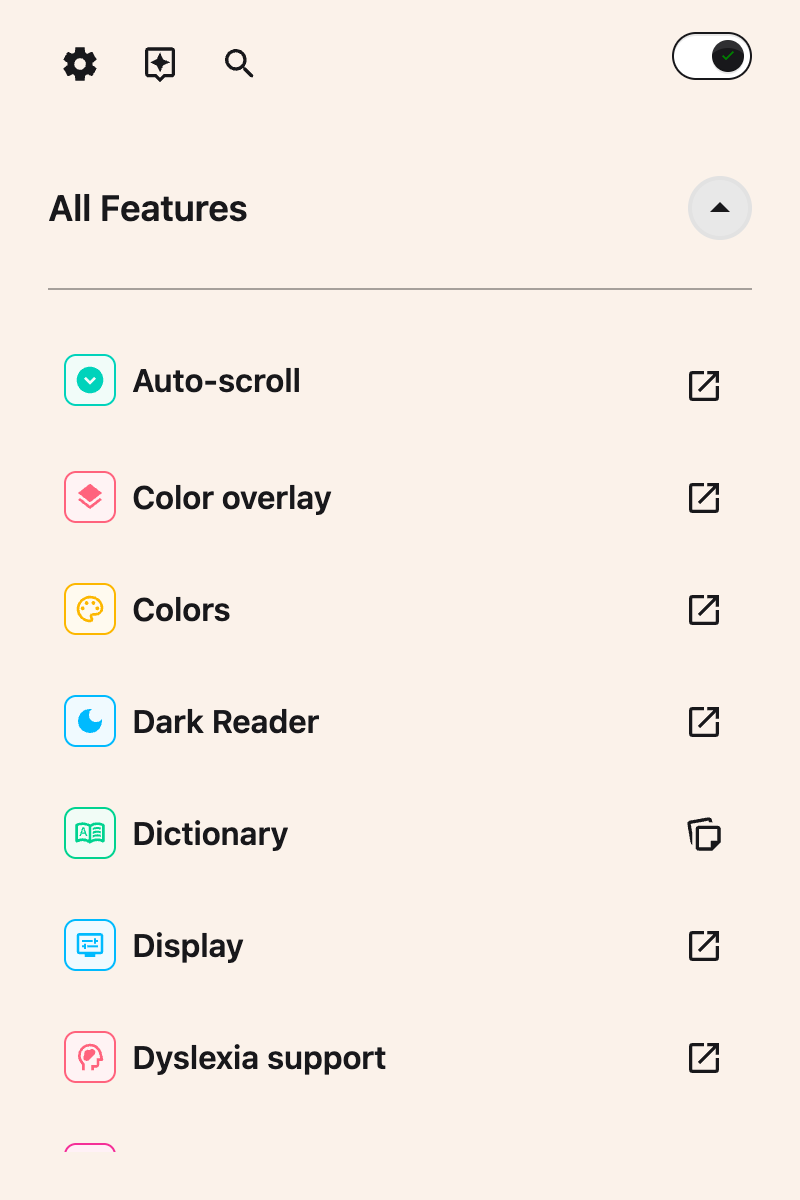
Click the Helperbird icon in the top right corner of your browser. The Helperbird menu will open, showing your current Quick Actions at the top with icon boxes.
Step 2: Add Your Favorite Features
Look for the Quick Actions button near the top of Helperbird, beside the icon boxes. It looks like a small grid of squares with a plus sign (+), and says "Quick actions" when you hover over it. Click it.
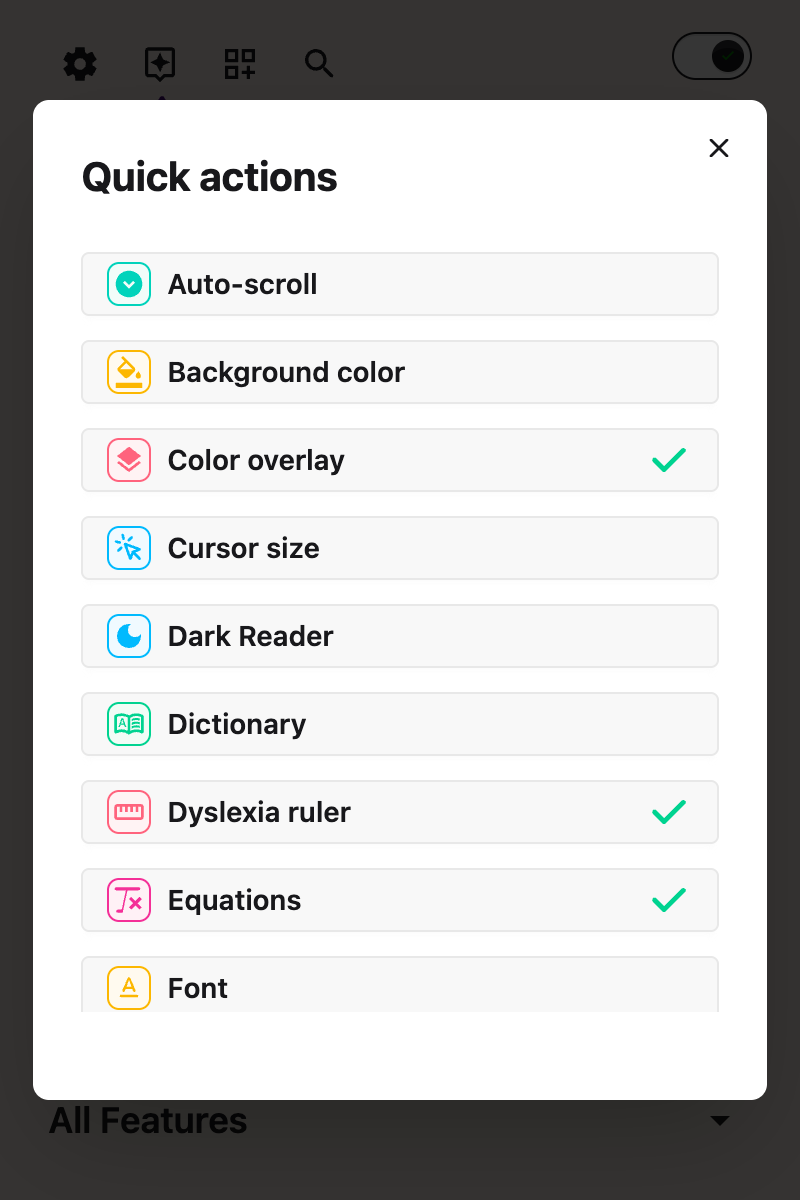
A list of all available features will appear. Browse through and click any feature you want to add to Quick Actions. A green checkmark will appear on the right of the feature to show it has been added.
The feature will instantly appear in your Quick Actions area.
Step 3: Remove Features You Don't Need
If you want to remove a feature from Quick Actions, click the Quick Actions button again.
Find the feature you want to remove in the list and click it. The green checkmark will go away, and the feature will disappear from your Quick Actions area right away.
Tip: Add the features you use every day to Quick Actions. It saves you time and keeps the tools you rely on in one place.
Video Tutorial
Need Additional Help?
If you run into any issues while customizing your Quick Actions, reach out to our Helperbird support team and we'll help you out!
Printed from the Helperbird Help Center · Updated August 12th, 2026
Questions? We are happy to help — helperbird.com/support