
How to Turn On the Floating Toolbar in Helperbird
Learn how to switch on Helperbird's floating toolbar so your reading and writing tools sit on every page, without opening the extension each time.
·
- features
- writing
What is the Floating Toolbar?
The floating toolbar puts your most-used Helperbird tools on the page itself, so you can reach them without opening the extension. It stays with you as you move from site to site.
Who is This For?
This is helpful for:
- Anyone who uses the same two or three tools on every page
- People who find opening the extension menu each time slow or fiddly
- Students who want reading support always within reach
- Anyone who works better with tools visible rather than remembered
Step 1: Turn It On
Open Helperbird, go to All Features, and turn on the floating toolbar. Once it is on, it appears on every page you visit.
Step 2: Open It on a Page
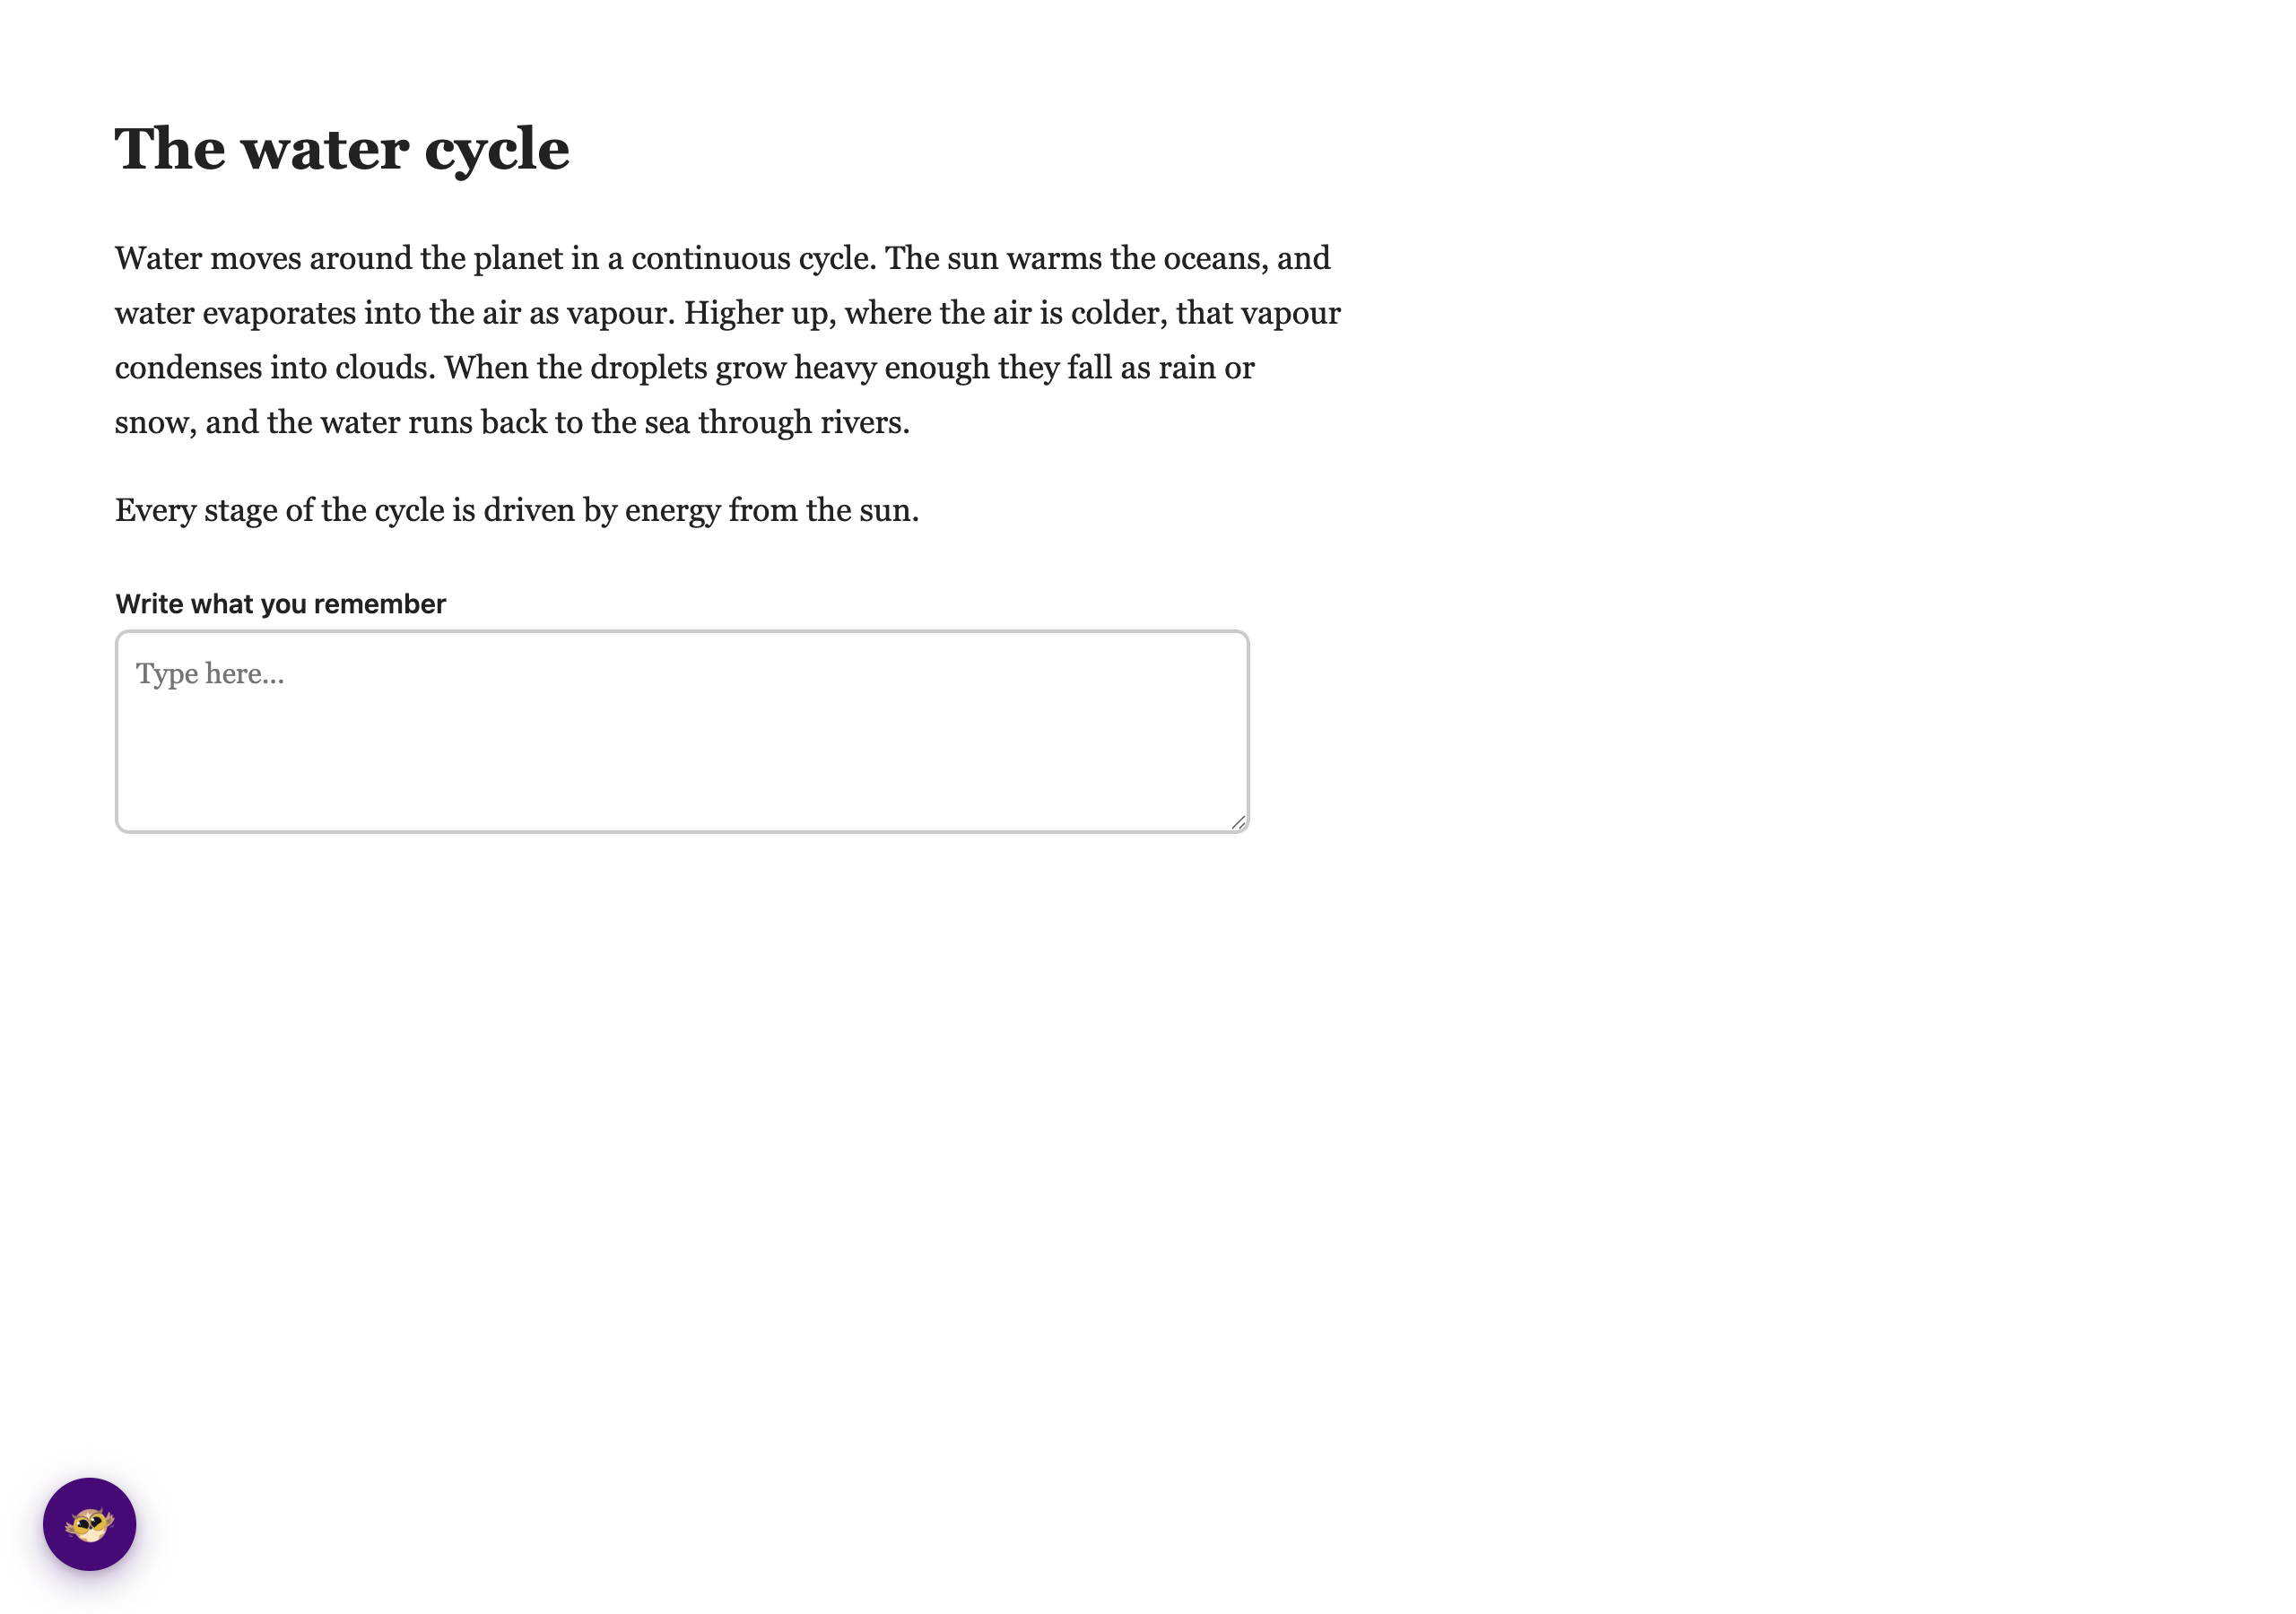
It starts out of the way, as a single round button in the bottom-left corner.
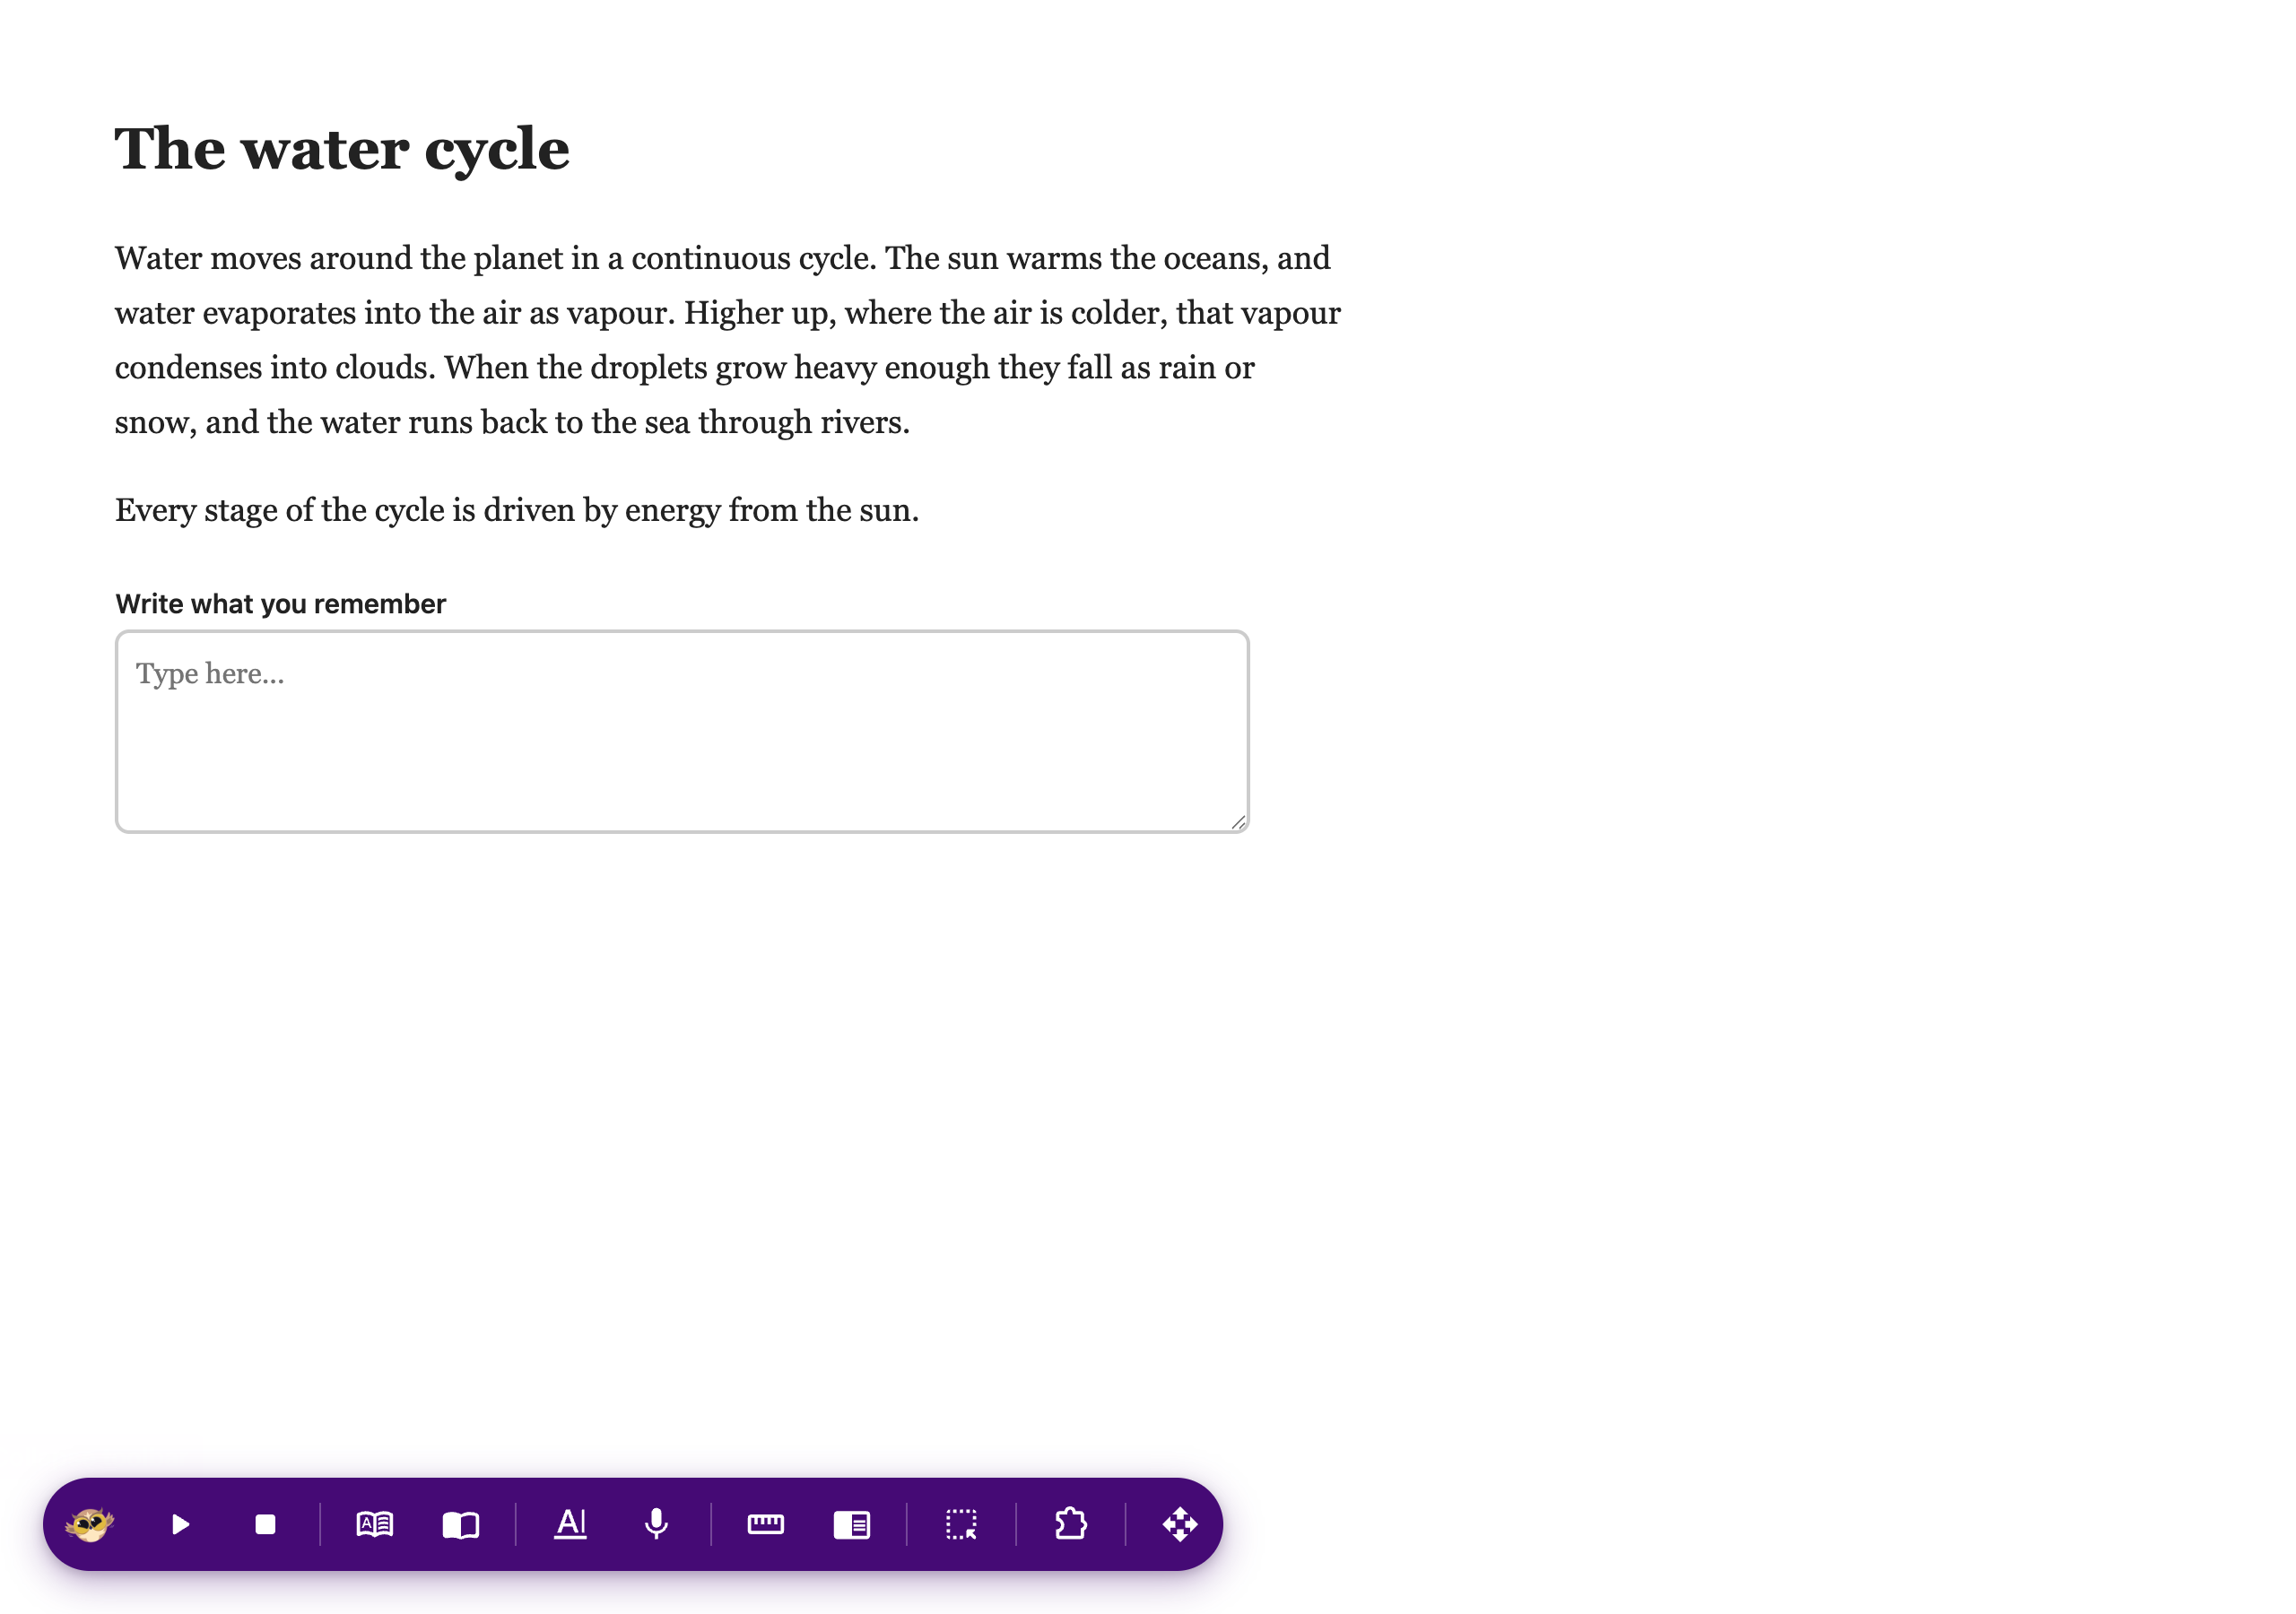
Click it and the full row opens.
What is on It?
Reading from left to right, each with its own guide:
- Play and Stop to have the page read to you
- Dictionary to look up a word you have selected
- Immersive Reader for a clean, calm version of the page
- Word prediction to suggest words while you type
- Voice typing to dictate instead of typing
- Reading guide to help you keep your place
- Reading Mode to strip a page back to the article
- Screenshot Reader to pull text out of a picture
- Settings to open the full Helperbird menu
Moving It Out of the Way
The last button on the toolbar is a drag handle. Hold it and drag to move the toolbar somewhere it does not cover what you are reading.
If you want it gone entirely, turn the floating toolbar back off in All Features.
Video Tutorial
Coming soon
Need Additional Help?
If you have any questions or run into any issues, please contact the Helperbird support team. You can reach us at Helperbird support. We are happy to help you get the most out of Helperbird.


